Setup Lakka on the PC
Follow the following steps:
- Plug in the USB installer into the PC you want to setup
- Wire your PC to a Display or TV
- Power on your Display or TV
- Plug in an Ethernet wire (optional)
- Plug in a supported joypad into one of your USB ports on your PC
- Power on your PC
- Enter BIOS and allow booting of a USB (optional)
You should see our bootloader prompt:
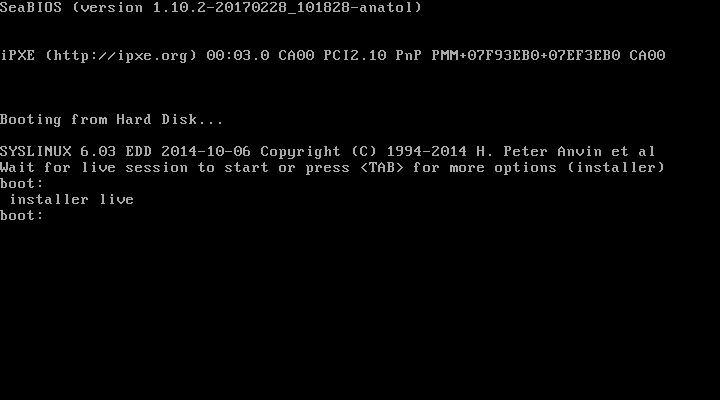
If you do nothing, Lakka will boot in persistent live mode. You will be able to check if Lakka works on your hardware, without altering your PC’s hard drive or partitions. You can keep your USB pen and boot it on several PCs around you, it will keep your ROMs and your saves as expected, but it’s not the subject of this tutorial.
To setup Lakka on your target PC, type installer and hit Return.
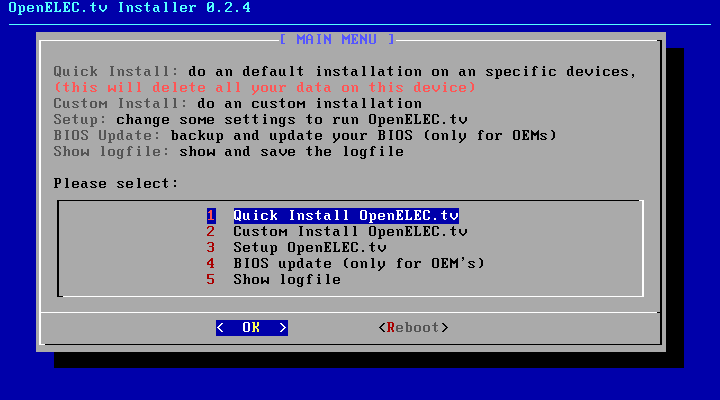
Our splash screen will shortly appear:

Followed by the installation wizard..

Choose Quick Install.
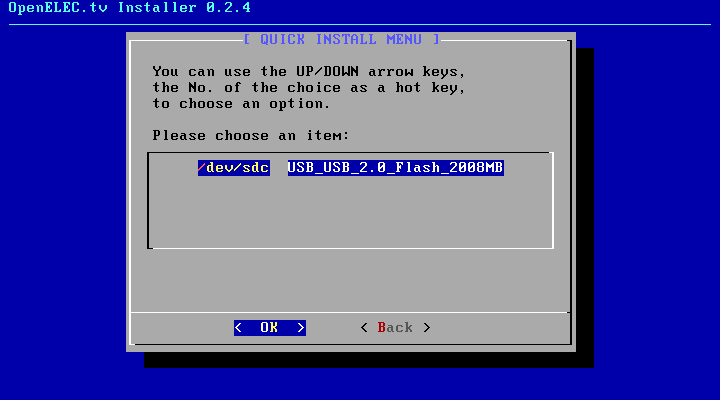
The installer will list your hard drives. On a typical Home Theater PC or NUC you should have only one.
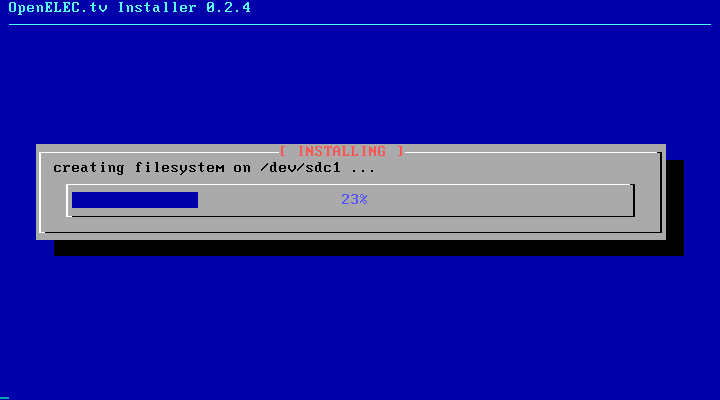
The installer will copy the files to your target hard drive.
At the end of this process, you will be asked to reboot. Choose Reboot and unplug your USB drive before it boots.
The system will expand the file-systems and reboot after 30 seconds. This happens only on the first boot. The system will automatically reboot and the rest of the boots should be fast.
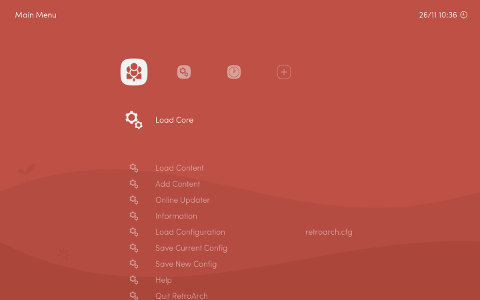
If everything went OK, you should now be able to navigate Lakka Menu, our graphical interface:
Congratulations, you have successfully installed Lakka!
You can now proceed to the final step.